Kettlebell Hike Pass
by Sam Franklin
How to Master The Kettlebell Hike Pass: A Core-Strengthening Classic
A compact muscle conditioning and technique sharpening kettlebell exercise, the kettlebell hike pass should be a firm fixture of everyone’s fitness schedule.
From advanced athletes to budding fitness enthusiasts, the kettlebell hike pass is an effective core-strengthing tool that will go the extra mile—but to make any real gains, getting it just right is vital.
Here’s everything you need to know to get started with the hike pass.
How to do a kettlebell hike pass: video tutorial
Before we dive into the benefits of kettlebell hike pass, watch our quick tutorial video by Luke Baden, Kettlebell Master Trainer.
Luke will take you step by step through the entire movement, ensuring your form is correct and you get the absolute maximum out of the exercise.
Step by Step Guide to the Kettlebell Hike Pass
Step 1: The Kettlebell Hike Pass
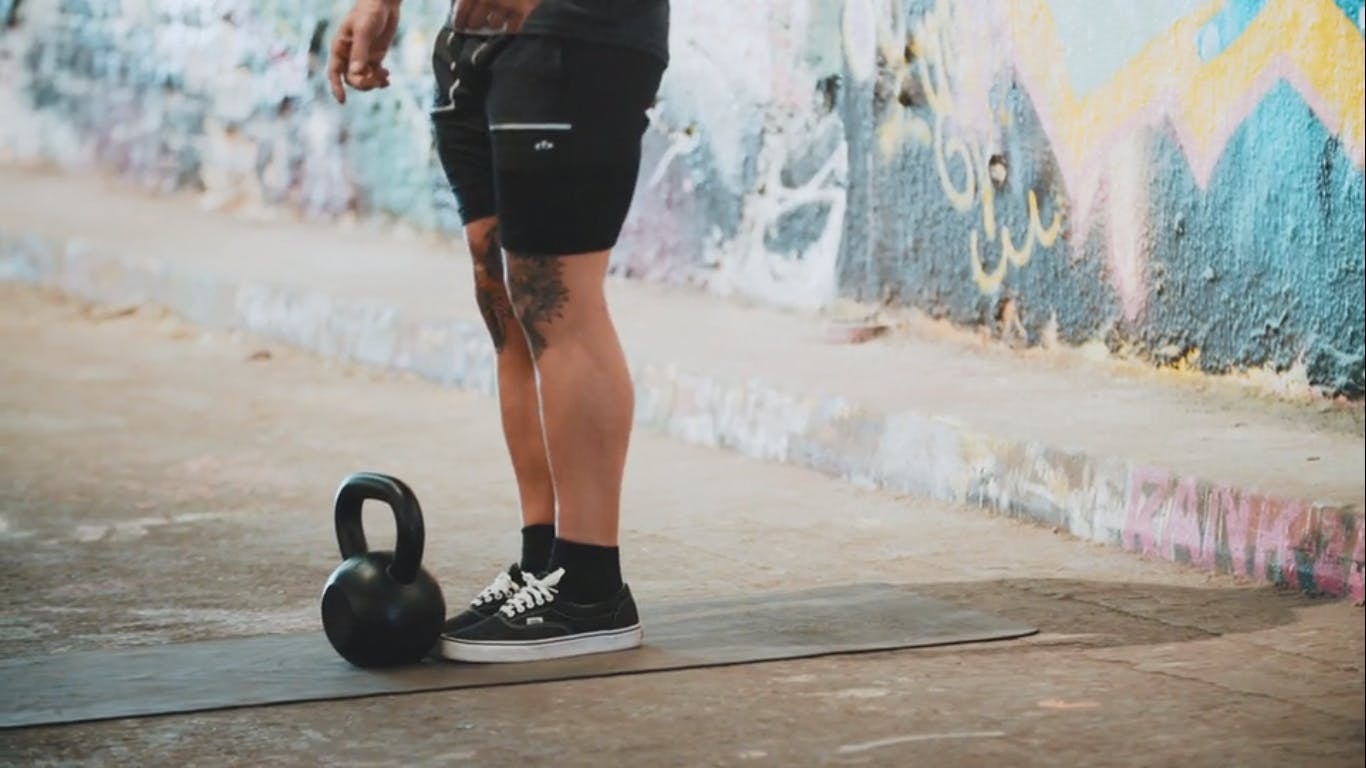
This is an important movement as it is a way of learning and getting used to kettlebell swings. To start, approach the bell and put your tiptoes against the kettlebell.

Step 2: The Kettlebell Hike Pass
From here, swivel the foot on the heal, turning a full 90 degrees, with the toes pointing out to the side.

Step 3: The Kettlebell Hike Pass
Then bring the foot back to straight. Do one leg first, then repeat with the other leg.

Step 4: The Kettlebell Hike Pass
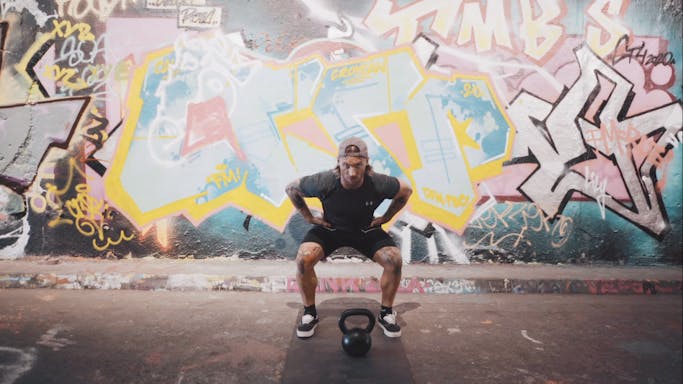
With your hands flat, palm facing upwards, push your little fingers into your hip crease, bend your knees and squat to find your hip hinge position.

Step 5: The Kettlebell Hike Pass
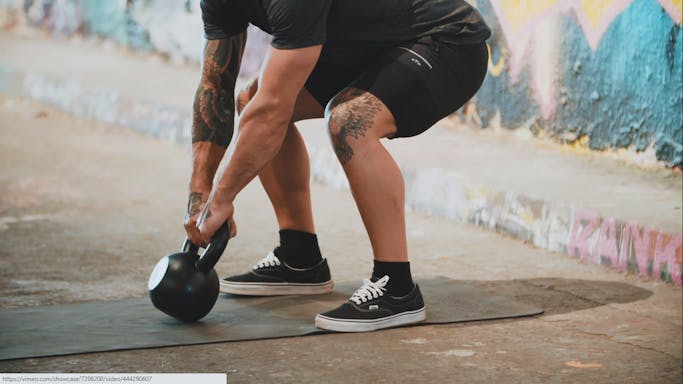
Place both hands on the kettlebell, so that it forms a projection of your arms.

Step 6: The Kettlebell Hike Pass
Pack the shoulders - squeeze the shoulder blades back and down, flattening the armpits to the body. Brace the abs.

Step 7: The Kettlebell Hike Pass
Without standing, throw the kettlebell back through the legs and return it to the start position. Re-pack the shoulders and repeat. For each rep, do not stand up. Re-pack the shoulder, stay low and keep the hinge.

The body-boosting benefits of the kettlebell hike pass
The kettlebell hike pass is a focused movement that drills down deep into very specific areas of the body. Here are the main fitness-boosting benefits of the mighty hike pass:
- Core strength: The low, localised nature of the hike pass makes it one of the most effective core-boosting exercises around. Performing this movement regularly will accelerate your overall core strength, making you more balanced and stable while improving your posture.
- Lower body power: As a deep working lower body exercise, the hike pass will activate your glutes and major leg muscles, increasing lower body strength and tone in the process.
- Technique & coordination: The backswing and stop movements involved in the exercise command attention to detail as well as an incredible level of control. As a result, the kettlebell hike pass will improve your general coordination, improving your technique for enhanced performance in other exercises and activities.
- Effective activation: The hike pass's controlled movement pattern activates essential muscle groups throughout the lower section of the body, offering amazing calorie burning and conditioning benefits in the process.
What muscle groups does the kettlebell hike pass work?
The kettlebell hike pass is a very impressive core-building and leg boosting exercise. By engaging the hips, core, and lower body, this concise movement offers excellent results for those willing to commit. Here are the major muscle groups worked by the hike pass:
- Adductors
- Glutes
- Hamstrings
- Quadricep.
- Erector spinae
- Abdominals
- Obliques
- Shoulders
Kettlebell hike pass form tips
To help you get the kettlebell hike pass just right and reap all of its body-boosting rewards, here are some essential form tips you should follow:
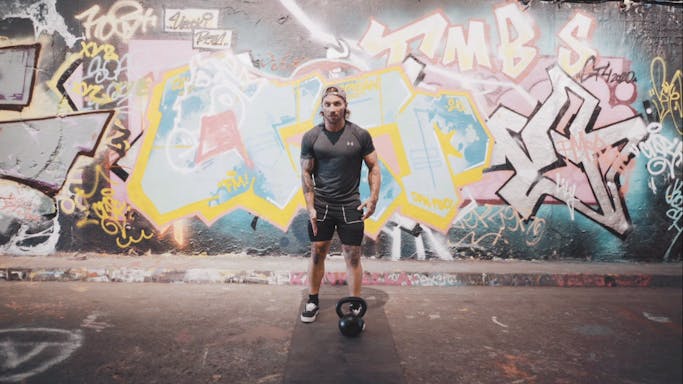
- Hike pass position: Akin to an American football-style hike position, place your feet a little over shoulder-width apart with your toes facing forward. Flex your knees and with a straight back, hinge your hips forward to grip your kettlebell. Your kettlebell should be far enough forward so that you need to hinge your hips at a 45-degree angle to grab hold of it.
- The backswing or pass: Maintaining your position with both hands gripping the kettlebell handle, bend your knees slightly and with extended arms, lift the weight around six inches off the floor, swinging the kettlebell back between your legs, keeping your back straight and your shoulders squared at all times.
- The stop: As you return forward with your swing, bend your knees into a squatting position and in a controlled, crane-like movement, lower the kettle to the floor so that it stops in front of you at a 45-degree angle (the starting position). Pause for a moment and repeat.
- Choosing the right weight: The kettlebell hike pass is a small yet demanding movement. If you have little kettlebell experience, start with a smaller weight, using bigger kettlebells as your strength and confidence grows. We recommend starting with a 12KG weight and working your way up.
What to avoid
Want to prevent injury or unnecessary strain on your body? Here’s what you should avoid:
- Don’t swing the kettlebell upwards when you lift it from the floor. Doing so will cause you to lose momentum or stumble forwards.
- Don’t force your backswing too much or you risk pulling a muscle in your back or shoulders.
- Don’t jump straight into the hike pass if you lack confidence. Start by mastering the two-handed kettlebell swing and deadlift first before progressing onto the hike pass.
Related kettlebell hike pass exercises
To complement your kettlebell hike pass efforts, here are three additional exercises you should explore:
Kettlebell Hike Pass video transcript
This is the video tutorial for the Kettlebell Hike Pass.
It’s a very important movement and is our way in to how we learn and how we get used to kettlebell swings.
What we do is we learn the setup of the swing and we learn how to initiate the back movement before we perform our first rep of a regular swing.
So, kettlebell hike pass. How it’s going to look.
So, a mindful setup. So, your tiptoes, you’re going to put those on the edge of the bell. Ding, ding.
From there, you’re going to rotate one foot out at a full 90 degrees and then back to straight.
Do this leg first, then you do the other leg. 90 degrees, back to straight.
Little fingers pushed into hip crease to find your hip hinge.
Hands on bell so it forms a projection of the arm.
You’re going to squeeze your shoulder blades back and down. So, pack the shoulder to protect the shoulder socket.
From here, all that’s going to happen, without standing up, I’m just going to throw the kettlebell back through my legs and return it to the start position.
Crucially, I don’t stand up. I stay loaded, I brace my abs and I just throw kettlebell back and to the start.
Re-pack your shoulder, throw kettlebell back, and to the start position.
Every rep, packing the shoulder, every rep throwing back without standing up.
So, key mistake on this, is to set up, pack shoulder and begin to stand.
Don’t stand.
Stay loaded, stay low, keep the hinge, throw back and return to the start position.
That’s the kettlebell video for the kettlebell hike pass.
